So, if you’ve come this far, you should be able to access the PeopleSoft home page without any issues
In this post, let us look at installing PeopleTools. First, you’d have to access the files required for the PeopleTools installation.
These are available on a Samba Network Share. You can access them by providing your virtual machine’s IP address. In this case, the IP address is 192.168.1.116.
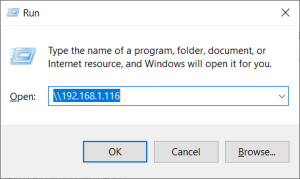
If you’re on an earlier version of Windows 10, you should be able to access the Samba share without any issues by accessing it via the run prompt:
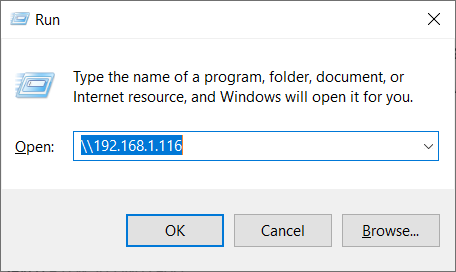
But with newer versions of Windows 10, you’re more likely to get the following prompt to enter your computer’s user name and password:
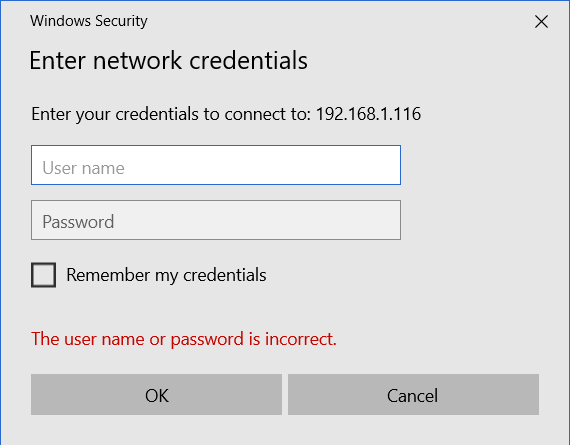
Regardless of what you enter against the username and password fields, it is likely that you get the message “the user name or password is incorrect“. There are various options out there from “Turn On Network Discovery” to “Turning Off Password Authentication for Network Shares” and “Editing the Registry”. Unfortunately, none of them seem to work. If you know of a way to get it working, please leave a comment and I’ll include it in this post.
So, what can you do now to access the shares? There’s an alternative. You can access the files via WinSCP by connecting to the Linux server.
Download and install WinSCP from here. Once installed, access the application and follow the steps provided below:
- Click on the New Session button

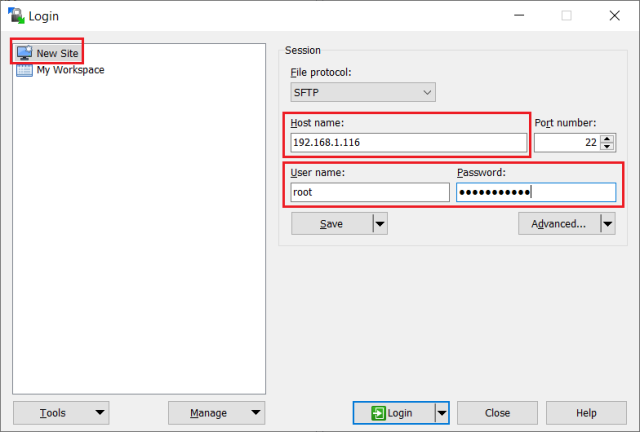
- In the window that opens, click on New Site, enter the Linux Host name, username as root and password for the root user : click on Login once done
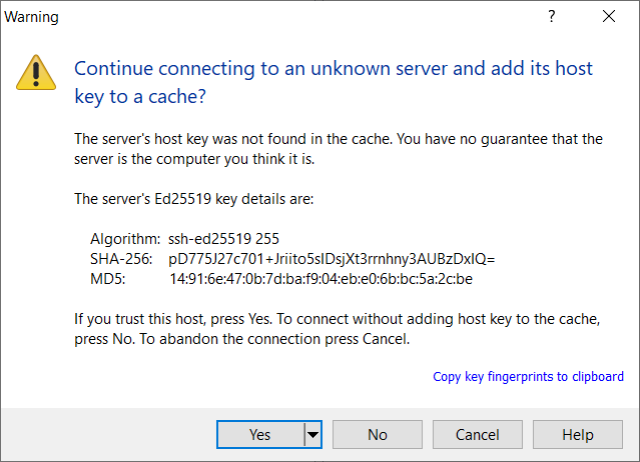
- You’d get the following message – click on Yes
- The right pane of your WinSCP window will now look like this
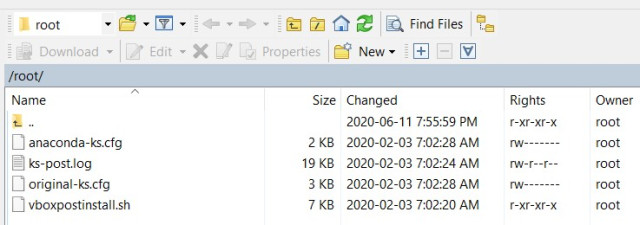
- Press Ctrl + O and paste this path /opt/oracle/psft/pt/tools_client
- The directory and its contents would look like this
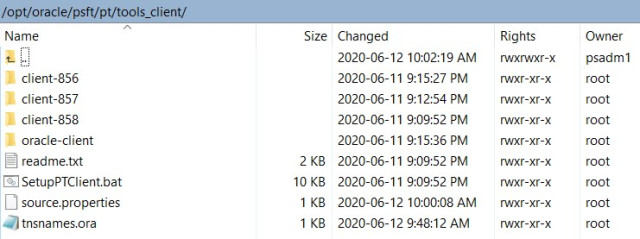
- You can copy these folders to your PC which is on the left pane of WinSCP, by dragging and dropping them into a folder of your choice(on your PC)
- Open a new cmd session in Administrator mode and navigate to the tools_client folder
C:\Users\MANIKANDAN>cd tools_client
Your prompt should now look like this:
C:\Users\MANIKANDAN\tools_client>
- Type SetupPTClient.bat and press enter
- Once the batch script starts executing, you’ll start getting the following messages along with the Oracle Client installation – type N for the first prompt, if you’re setting it up on your PC. The rest is all automatic:

If the installation goes through without any issues, your prompt would look like this
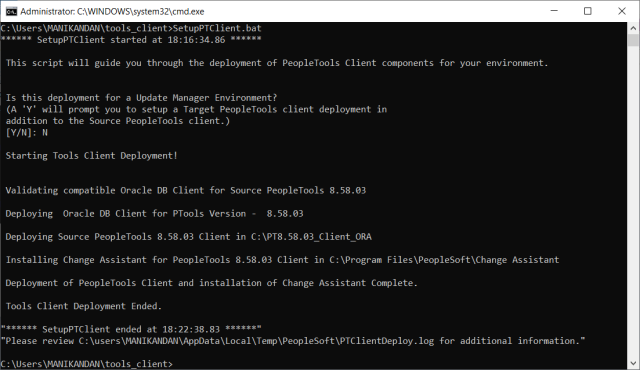
So far so good! Now lets get the Application Designer and other 2-tier tools installed.
- If installation completed without any issues, your PT client will be available against C:\PT8.58.03_Client_ORA
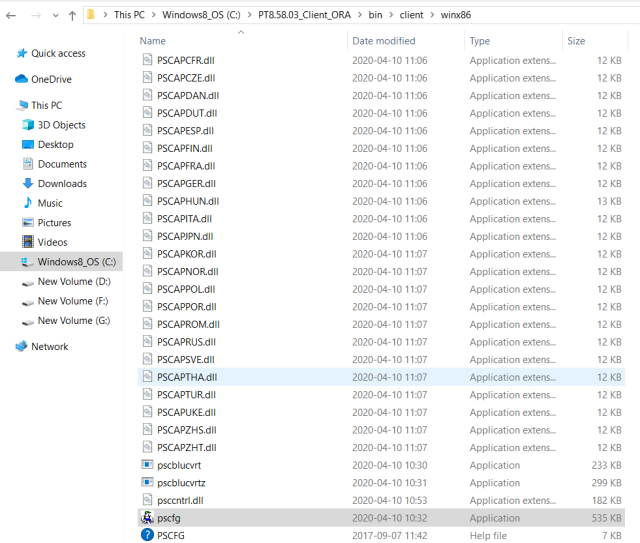
- Open the PS Configuration Manager [pscfg] from C:\PT8.58.03_Client_ORA\bin\client\winx86
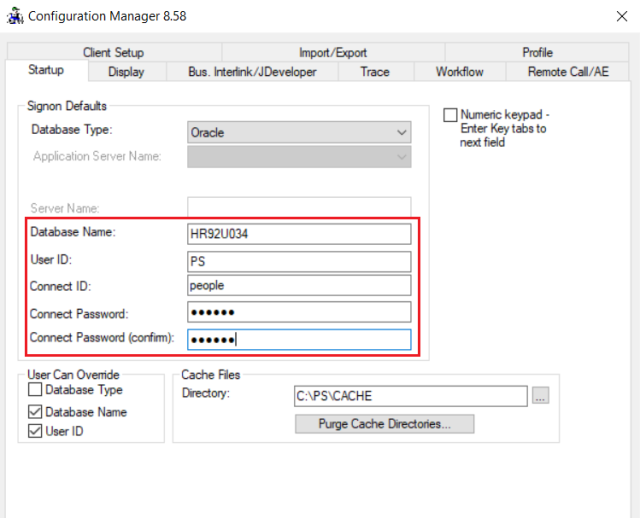
- It looks like this:

- Double-click on the pscfg file
- Provide the database name as configured, User ID as “PS” or as configured, connect ID as people and the password that you had provided during the initial setup for people

- Click on the Client Setup tab and select all options as displayed below, click on Apply and then OK
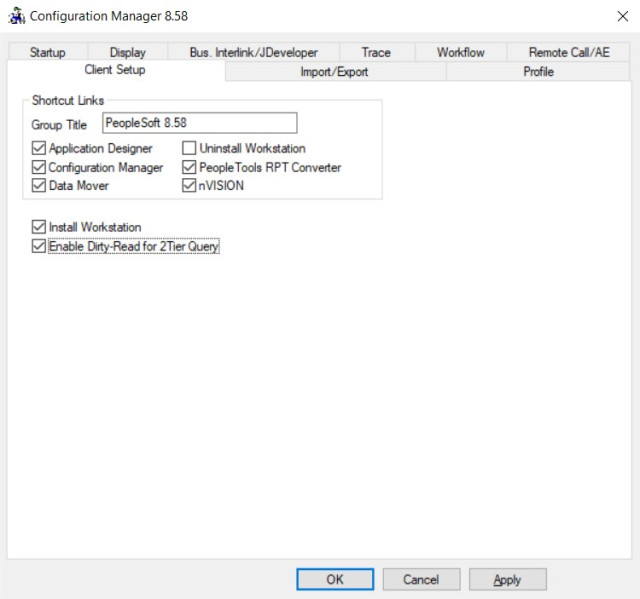
- From your tools_client folder, now copy the tnsnames.ora file and paste it under the network folder in your Oracle Home directory
- In this case, from C:\Users\MANIKANDAN\tools_client to C:\oracle\product\12.1.0\client_1\network\admin or C:\oracle\product\12.1.0\client_2\network\admin
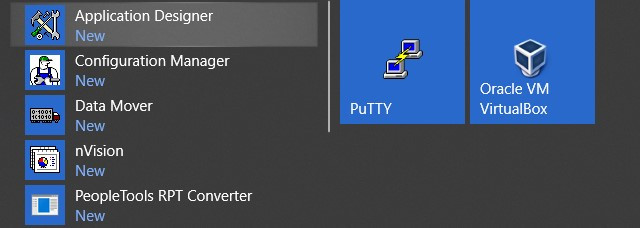
- Access Application Designer from the Start Menu
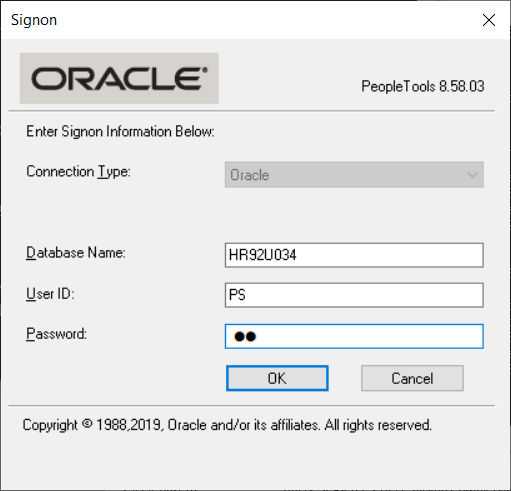
- In the window that appears, database and username should be pre-populated – enter the password
- If this is the first time that you’re accessing Application Designer, it would take a while – it is worth the wait!
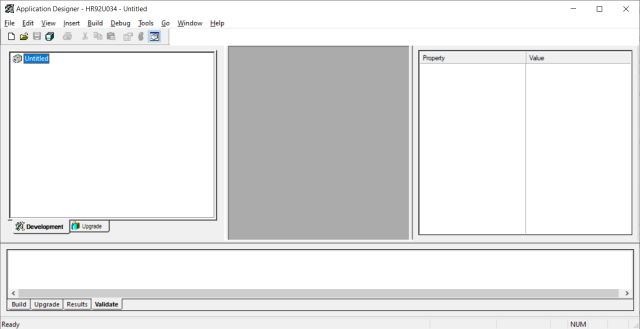
- The App Designer window looks like this:
That brings us to the end of this post. Let’s look at querying the database(using SQL developer) and setting up Putty in the next post.
PeopleSoft 9.2 – PeopleTools 8.58 VirtualBox Installation
本网站尊重知识产权,如有侵权,请及时联系我们删除。
本站所有原创内容仅用于学习和交流目的,未经作者和本站授权不得进行商业使用或盈利行为。





暂无评论内容