Once you’ve pressed the enter key from the Part-1, you’ll start seeing the following on the command prompt:
Starting the PeopleSoft Environment Setup Process:
Validating User Arguments: [ OK ]
Validating PeopleSoft Supported Platform: [ OK ]Extracting the Zip File HCM-920-UPD-034-OVA_10of13.zip: [ OK ]
Extracting the Zip File HCM-920-UPD-034-OVA_11of13.zip: [ OK ]
Extracting the Zip File HCM-920-UPD-034-OVA_12of13.zip: [ OK ]
Extracting the Zip File HCM-920-UPD-034-OVA_13of13.zip: [ OK ]
Extracting the Zip File HCM-920-UPD-034-OVA_2of13.zip: [ OK ]
Extracting the Zip File HCM-920-UPD-034-OVA_3of13.zip: [ OK ]
Extracting the Zip File HCM-920-UPD-034-OVA_4of13.zip: [ OK ]
Extracting the Zip File HCM-920-UPD-034-OVA_5of13.zip: [ OK ]
Extracting the Zip File HCM-920-UPD-034-OVA_6of13.zip: [ OK ]
Extracting the Zip File HCM-920-UPD-034-OVA_7of13.zip: [ OK ]
Extracting the Zip File HCM-920-UPD-034-OVA_8of13.zip: [ OK ]
Extracting the Zip File HCM-920-UPD-034-OVA_9of13.zip: [ OK ]Checking if the VirtualBox Software is Installed on the Windows Host: [ OK ]
Checking if the VirtualBox Default Machine Folder has Enough Free Spac[ OK ]
At this point in time, if your script fails stating that the VirtualBox Default Machine folder doesn’t have enough space, follow the steps provided below:
- Ensure you have at least 150 GB of free space in the drive of your choice(you should have started the installation on the same drive)
- Open VirtualBox, navigate to File > Preferences
- On the General tab, you’d have an option to change/set the default machine folder – choose a folder within the drive in which you’ve started the installation
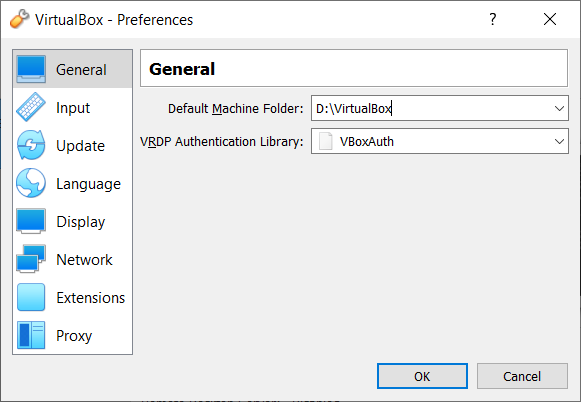
Start running the .bat file again.
Checking if a PeopleSoft Appliance (OVA) is Available to Import: [ OK ]
Found a PeopleSoft VirtualBox appliance [VBOX_8.58.03_SHELL.ova]
in the DPK source folder [D:\DPK_INSTALL].
We can automate the process of importing this appliance
into the VirtualBox Manager on the Windows Host.Do you want to import the OVA into the VirtualBox Manager? [Y|n]: Y
Checking if the PeopleSoft Appliance (OVA) is already imported: [ OK ]
Importing the PeopleSoft Appliance (OVA) into the VirtualBox Manager: [ OK ]
Choose option 2 – Bridged Network Adapter, if you’d like the PeopleSoft instance to be available on your mobile phone. Here are the instructions to access your instance on your phone.
The Network Adapter lets the VM be available either in a Sand-Box mode or
accessible to other hosts in the local network.1. Host-Only Network Adapter
2. Bridged Network Adapter
Enter 1 or 2: 2Getting the Bridged Network Adapter Name from the VirtualBox Manager: [ OK ]
Setting up Bridged Network Adapter for the VM: [ OK ]
Setting up the Shared Folder [D:\DPK_INSTALL] on the VM: [ OK ]Starting the VirtualBox Manager on the Windows Host: [ OK ]
Starting the Imported PeopleSoft Appliance VM: [ OK ]The PeopleSoft Appliance (OVA) is successfully imported into the VirtualBox
Manager and the new VM is started successfully. Please use the VM’s console
to continue with the PeopleSoft initializating process.The PeopleSoft Environment Setup Process Ended.
D:\DPK_INSTALL\setup>
Post this, a new instance of VirtualBox would open to continue with the installation.
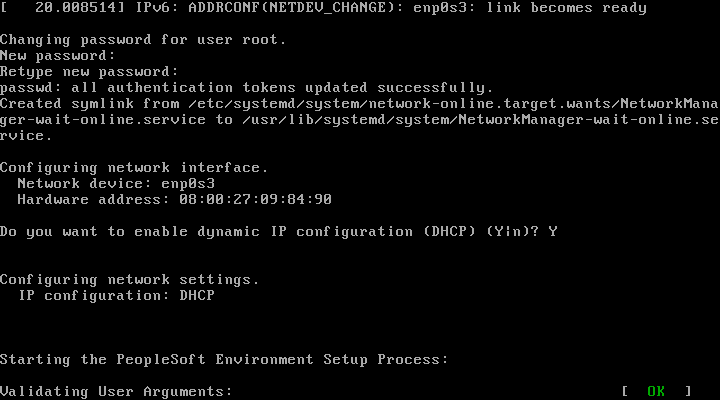
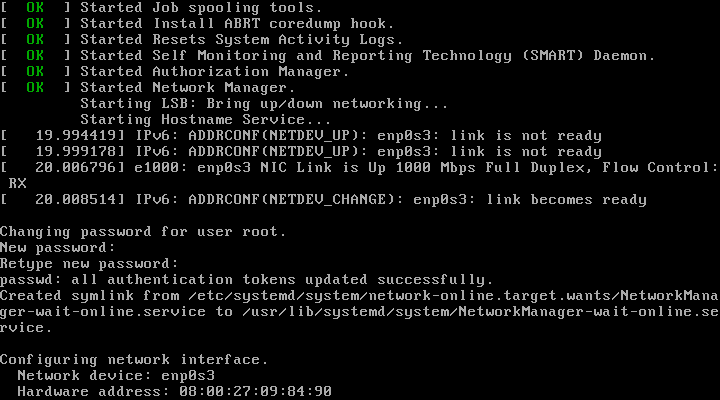
- You should be able to see the following screen that prompts you to enter the password for the root user – enter it twice and please note it down. You’ll require this once installation is completed:

- The next question checks if you’d like to enable DHCP (go with Y to avoid any manual configuration) – press enter and let the installation continue without any manual intervention
- When prompted to enter the host name, enter hcm92.ps.com
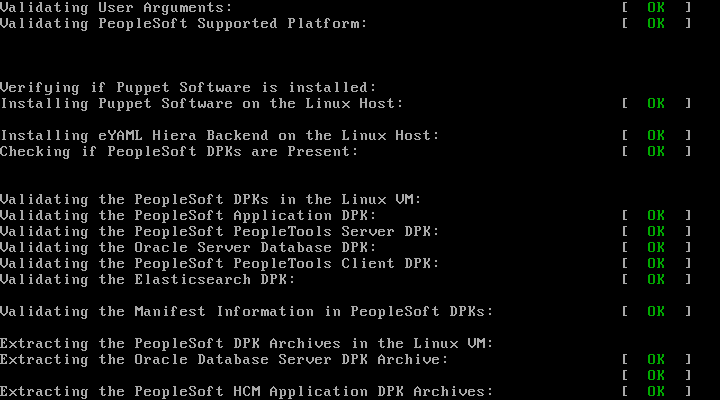
- Enter the PeopleSoft Installation type as FRESH
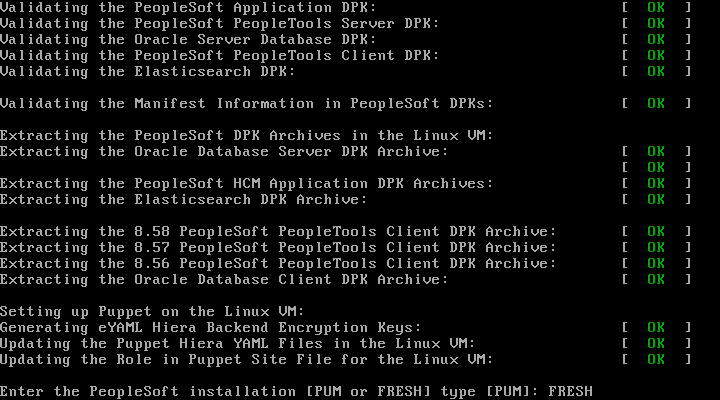
- Choose Y for Multi Language support if rquired, else set it to N
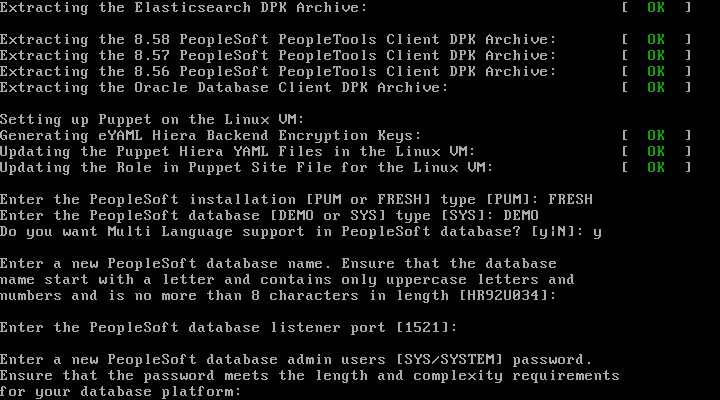
- You can either retain the default values for the database name or enter a database name of choice
- Enter the password for the PeopleSoft database admin users
- The password needs to satisfy complexity requirements : An uppercase character, a lowercase one, a number and a special character(like an hyphen – not all special characters are allowed in the password)
- Enter the PeopleSoft database Connect ID – default is people
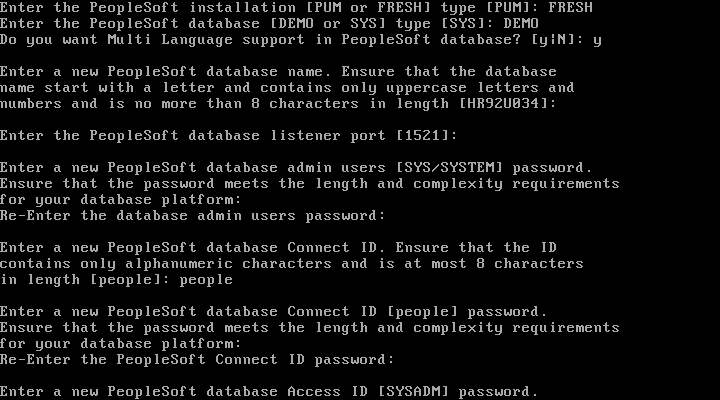
- Enter the password for people [alpha-numeric]
- Enter the password for SYSADM [alpha-numeric]
- Enter the password for PS [alpha-numeric]
- Enter the password for WebLogic Server Admin user – follow the complexity requirements displayed on the screen
- Enter the password for the PeopleSoft WebProfile user
- The default PeopleSoft Integration Gateway user is administrator – you can use the same or create a new one
- Set the password for the administrator user
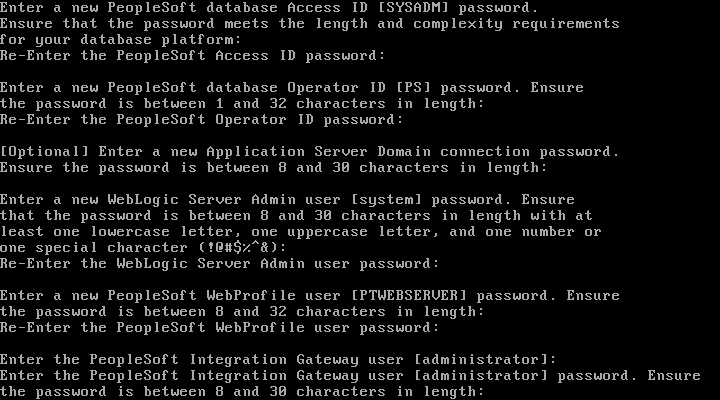
- Enter Y if you’re happy with the passwords that you’ve provided:
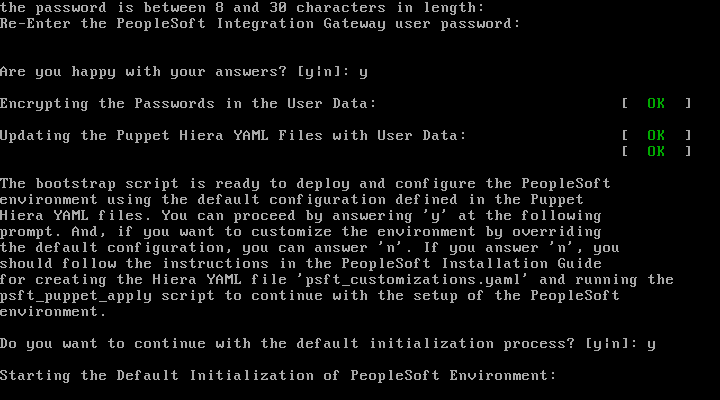
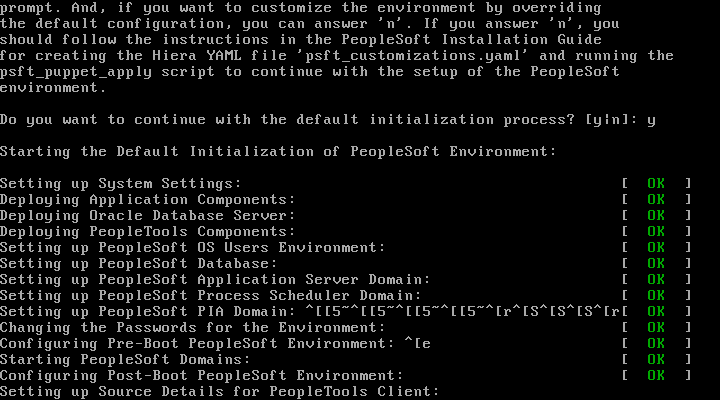
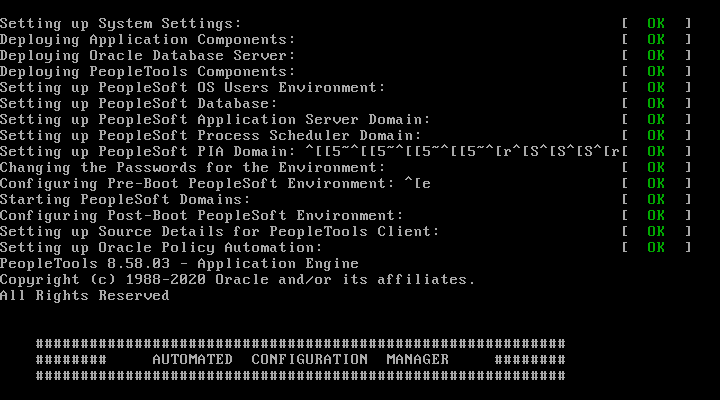
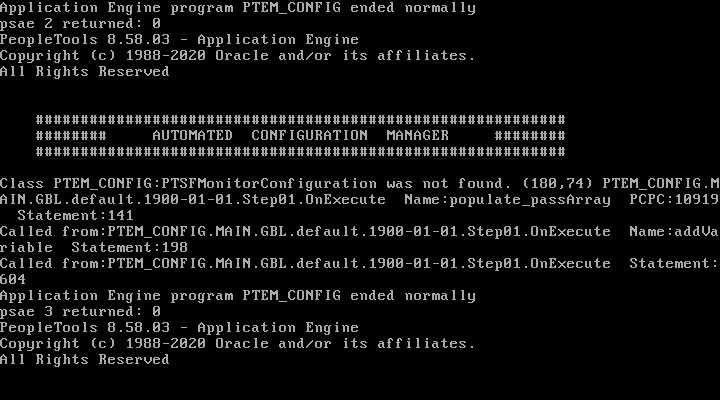
- Installation continues without any manual intervention – took about 3-4 hours on my PC (best to leave it overnight for the installation to complete)


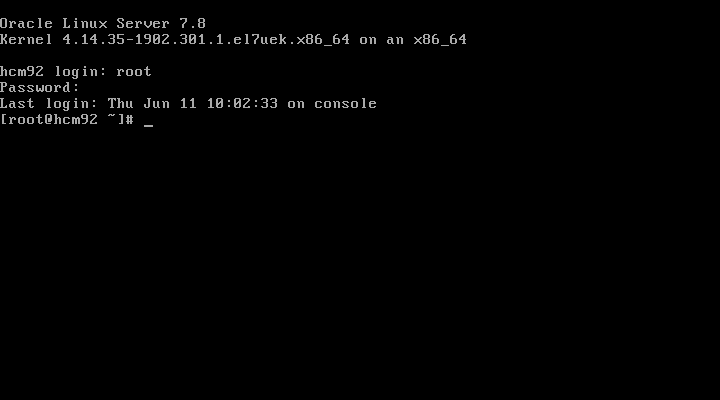
- If all goes well, you’d get the following screen – prompting you to enter the username as root and password that you had setup at the beginning of this post

- To identify the IP address associated with the image, type ifconfig in the command prompt
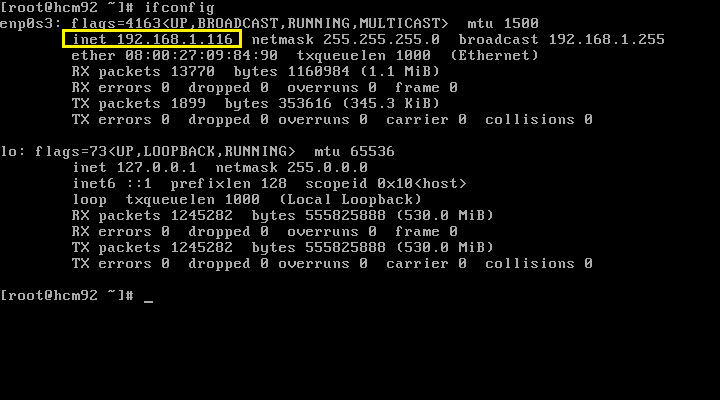
- In this case, the IP address is the value available against the inet field
- Note down this IP address as you’d be using this IP address to access the PeopleSoft image page
- To access the PeopleSoft home page, you’d have to make the following changes:
- In your Windows Host, access c:\Windows\System32\Drivers\etc\
- Open the hosts file from the files listed
- Add an entry with the IP Address and host name (that you had provided during the installation) of your PUM image

- So, if your IP address is, say, 192.168.1.103 and host name is hcmi34.ps.com, the hosts file entry should look like:
192.168.1.103 hcmi34.ps.com
![]()
- In case your IP address changes during the installation, you’d have to update in the hosts file
- In case, there are issues accessing the PeopleSoft home page, you’d have to edit it on the Linux Server as well
- On the command prompt, enter cd ../
- Type vi /etc/hosts
- You can press the Delete key to change the IP address
- Press the I key to change the mode to Insert
- Enter the new IP address
- Once all done, press Esc key+ : + wq + Enter Key

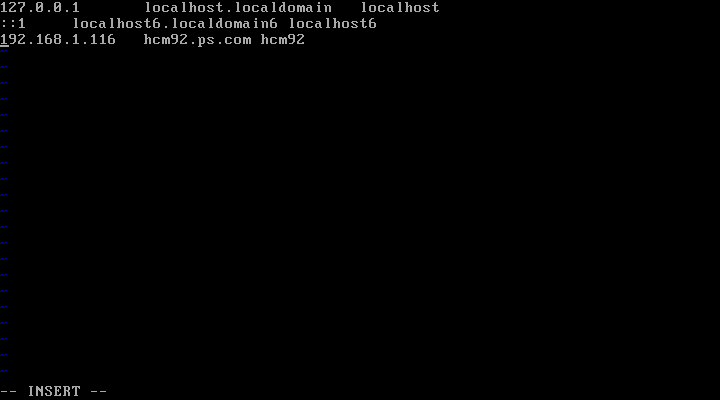
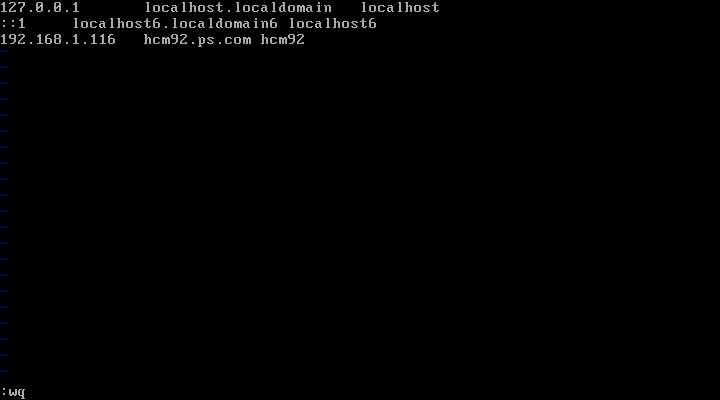
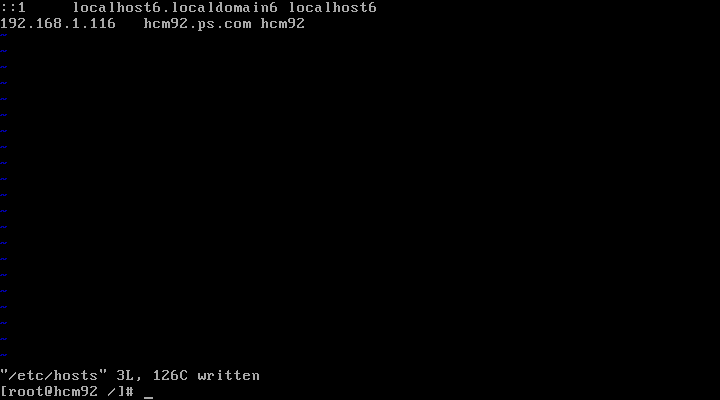
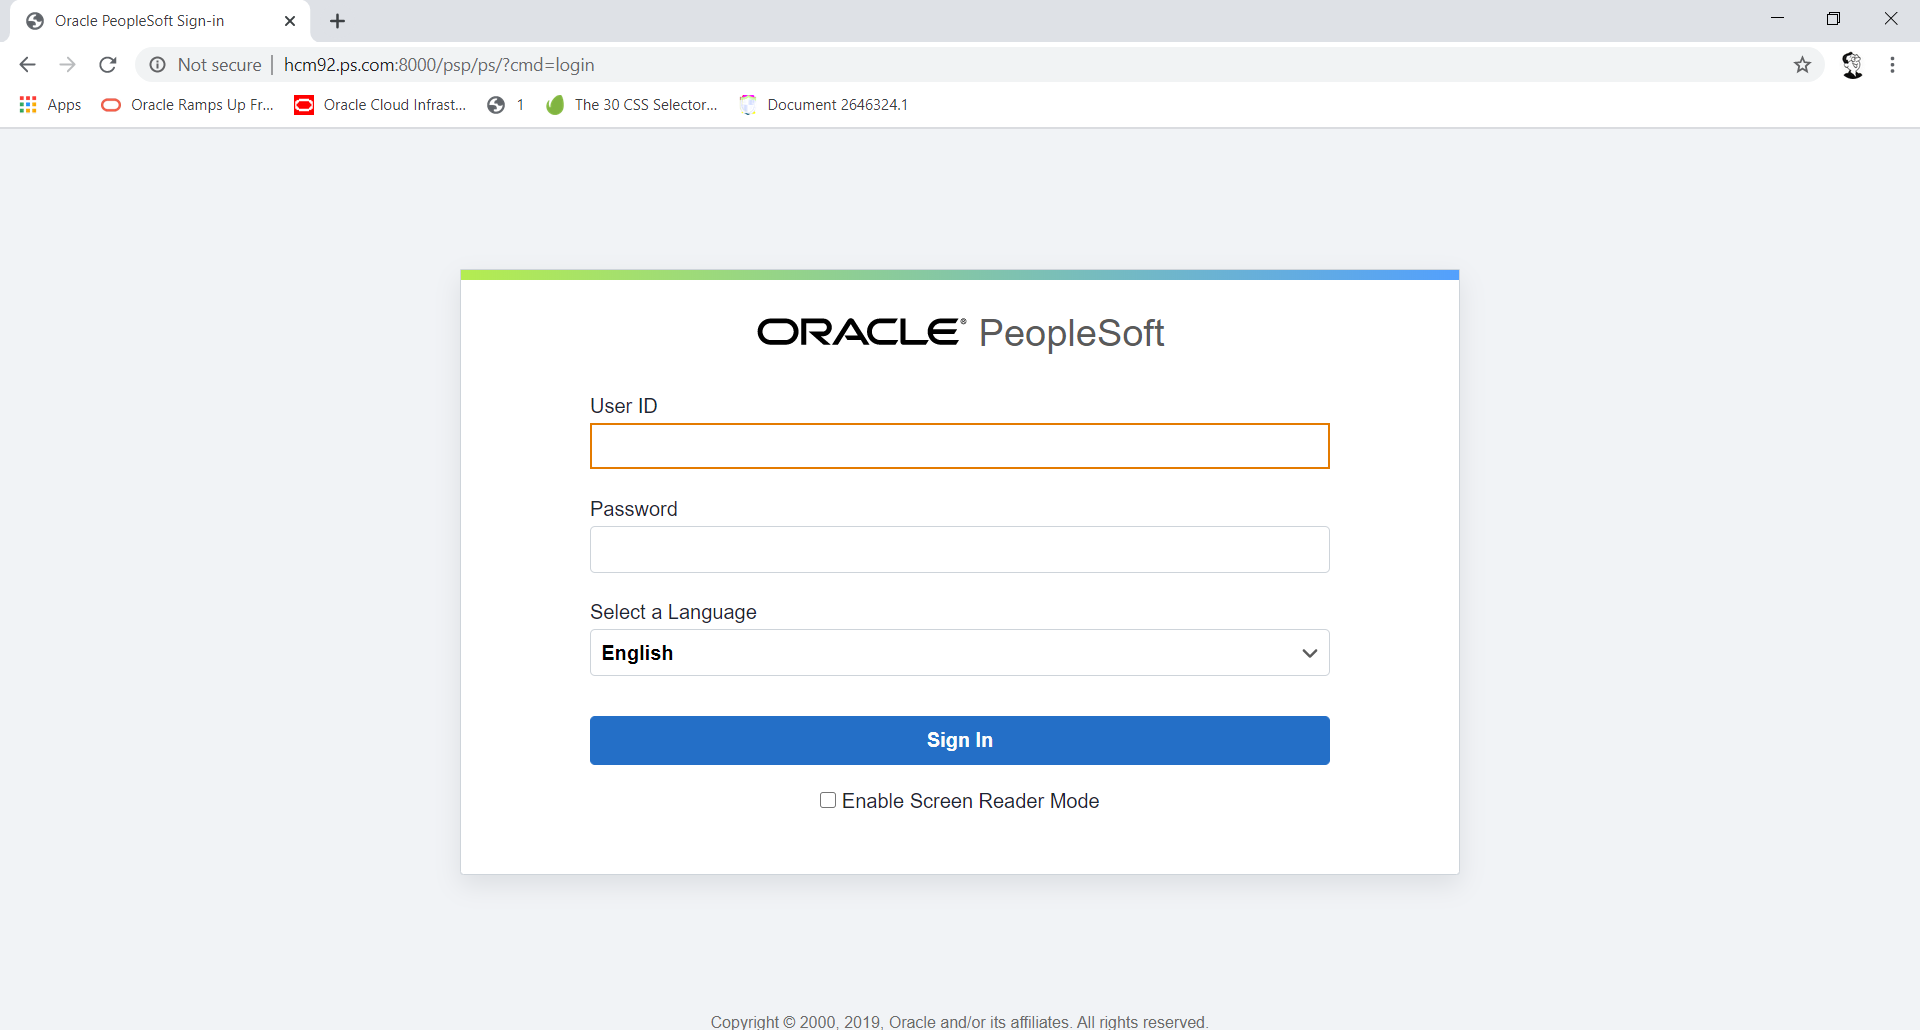
- Access the PeopleSoft home page using this URL : http://hcm92.ps.com:8000/ps/signon.html
- You’d have to replace hcm92.ps.com with the host name that you had provided during the course of the installation
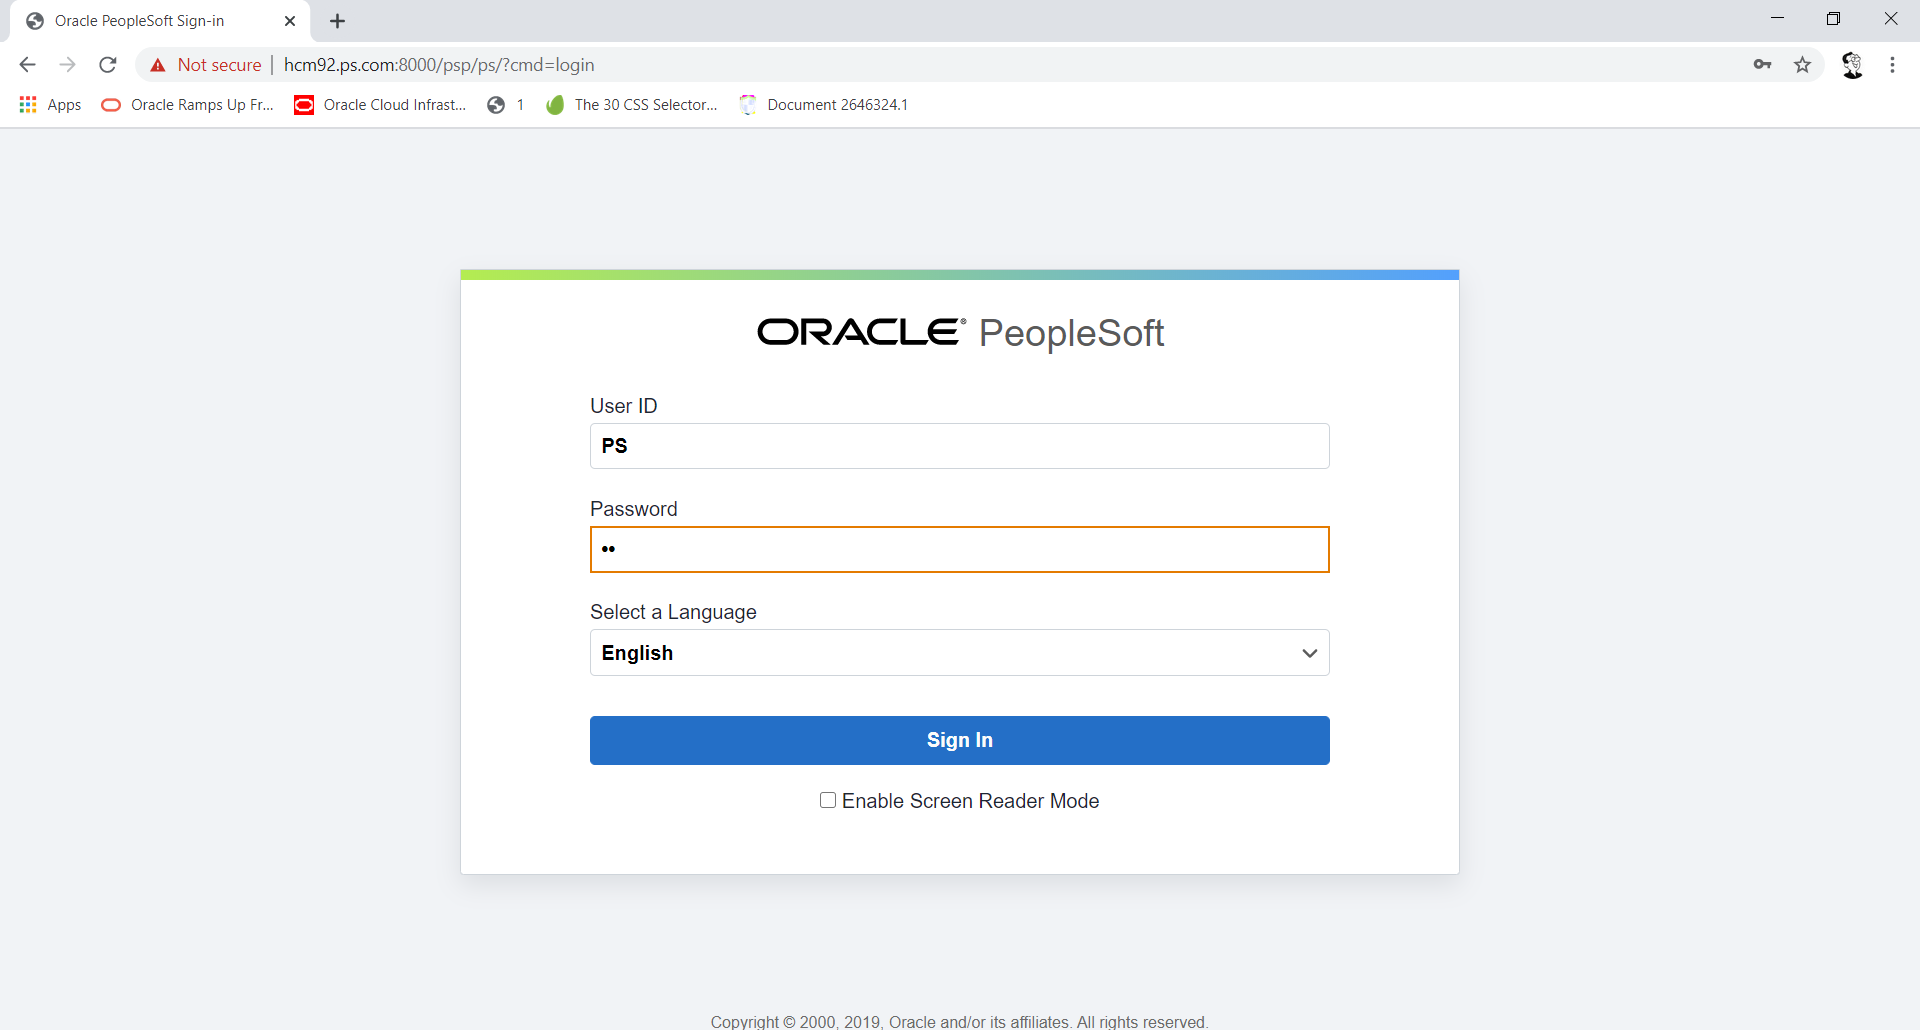
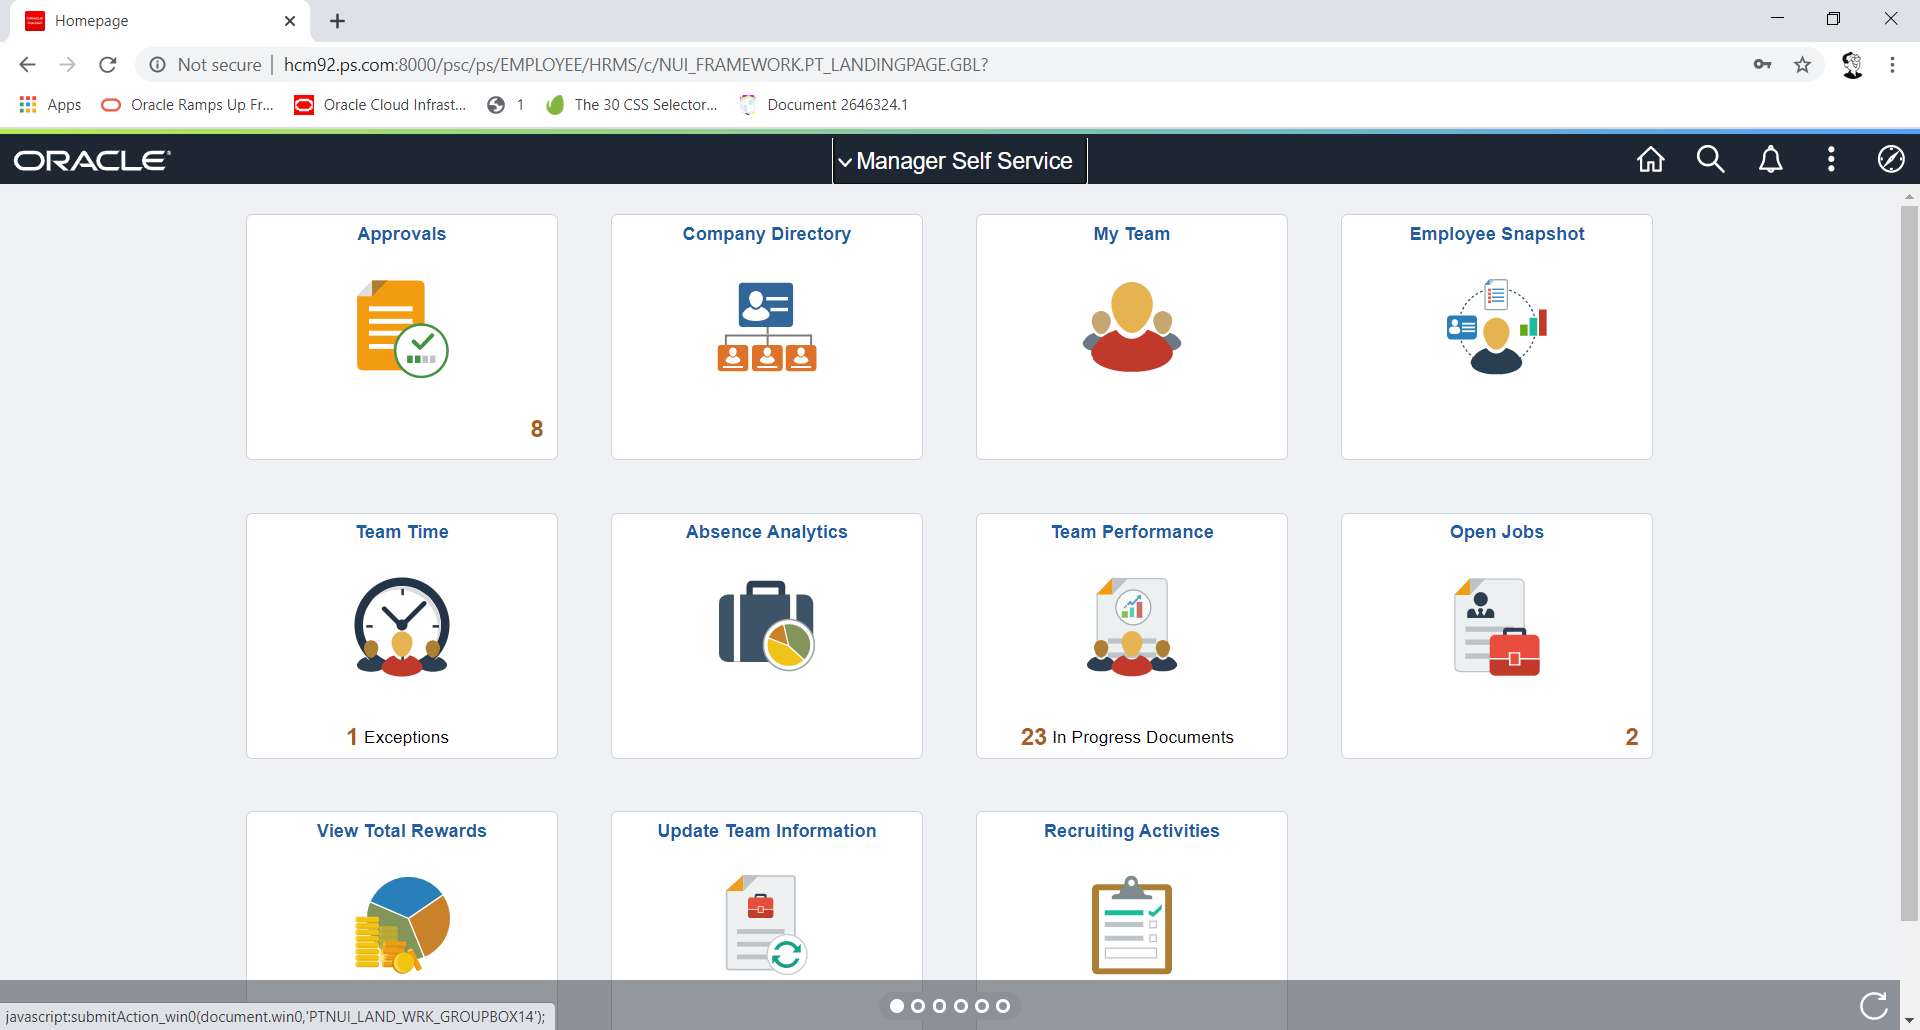
- If all good, your home page would look like this – enter the username as PS and password that you had provided during the setup
So, that’s the end of this post – hope this helps!
PeopleSoft 9.2 – PeopleTools 8.58 VirtualBox Installation
本网站尊重知识产权,如有侵权,请及时联系我们删除。
本站所有原创内容仅用于学习和交流目的,未经作者和本站授权不得进行商业使用或盈利行为。








暂无评论内容